This shop has been compensated by Inmar Intelligence and its advertiser. All opinions are mine alone. #DigestiveHealth2020
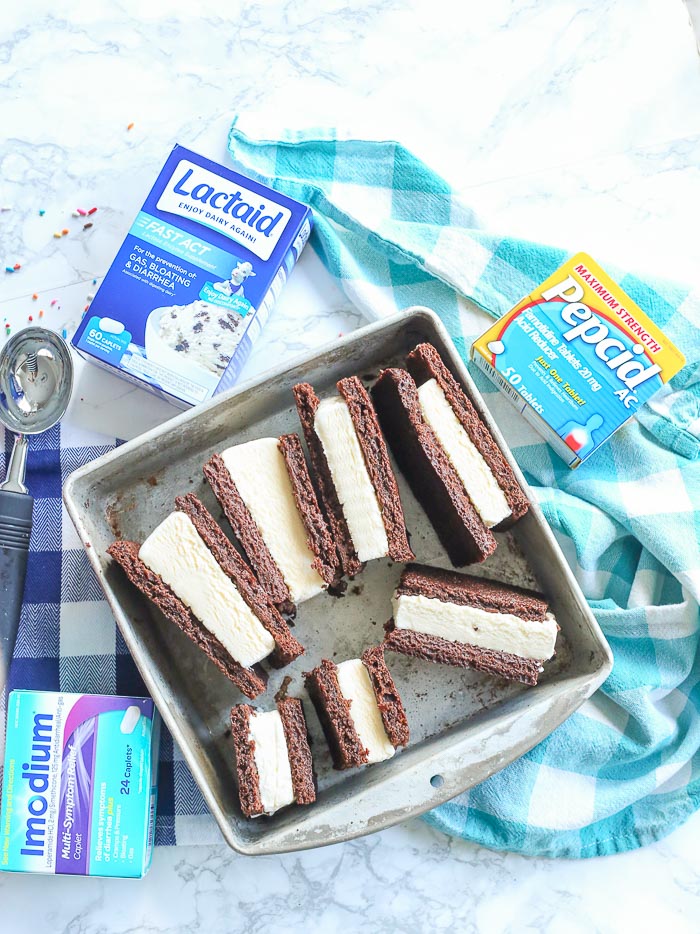
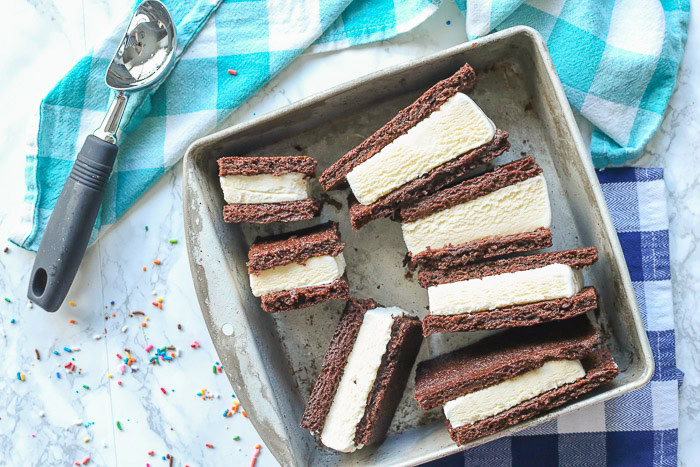
These Gluten-Free Ice Cream Sandwiches combine simple, homemade, gluten-free, soft and doughy, chocolate cookie layers with creamy vanilla ice cream in the middle. It's the perfect sweet treat all Summer long! And if you are like many people with gluten sensitivities and also have dairy issues, you're in luck. This post has some easy suggestions for you so that you can still enjoy this ice cream treat with your family, all thanks to LACTAID® Fast Act Lactose Intolerance Caplets!
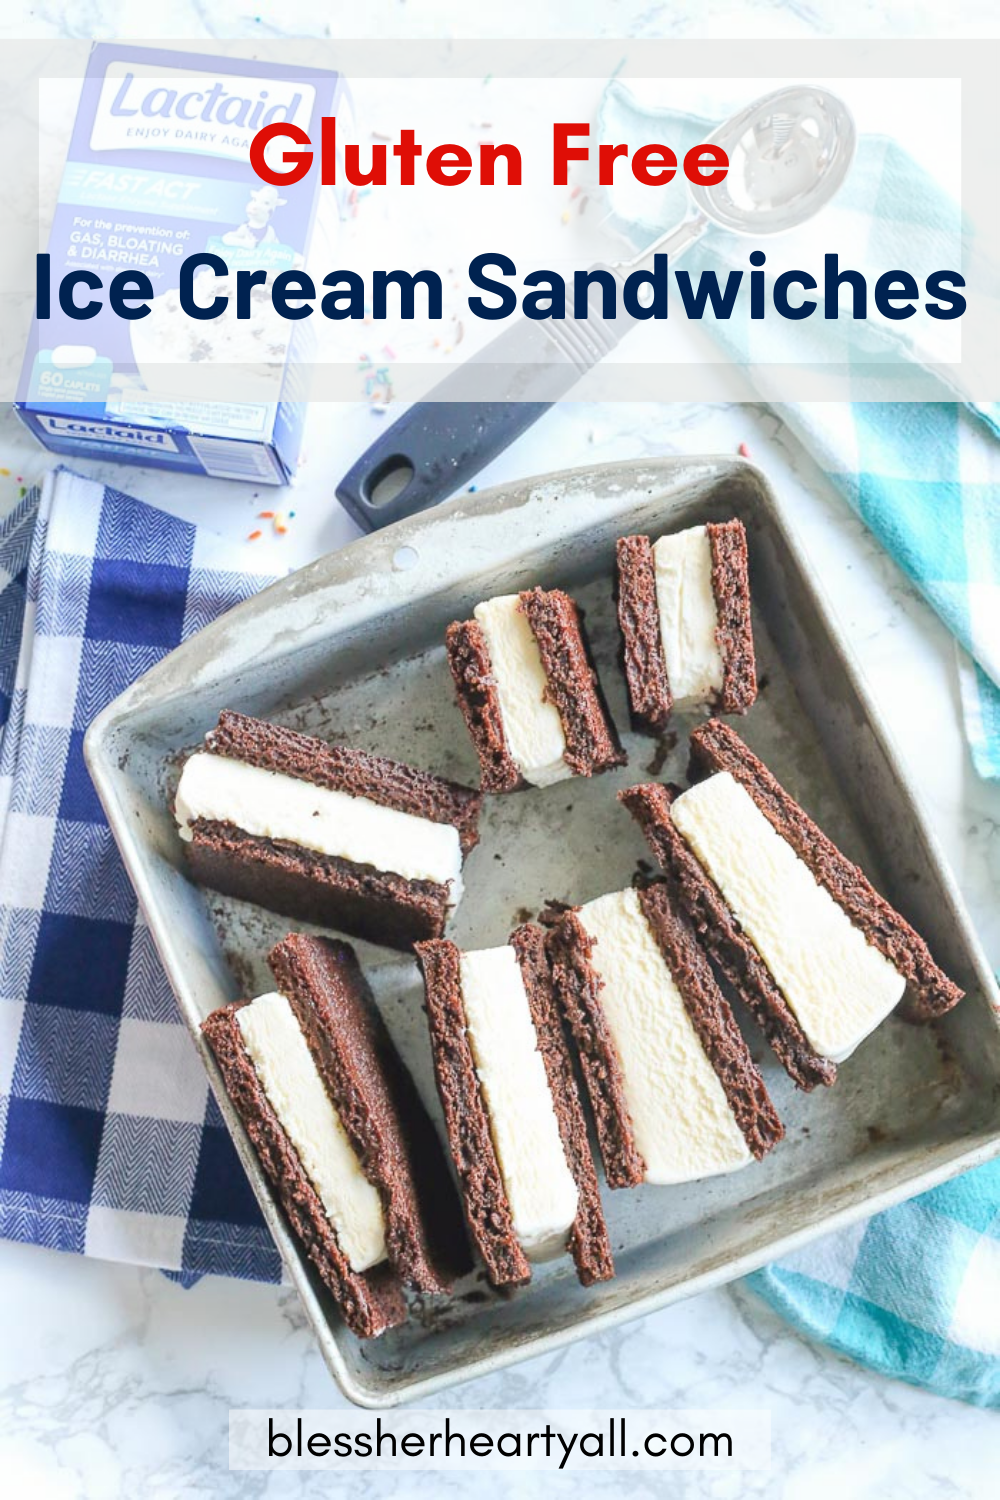
Table of Contents
Best Gluten-Free Ice Cream Sandwiches:
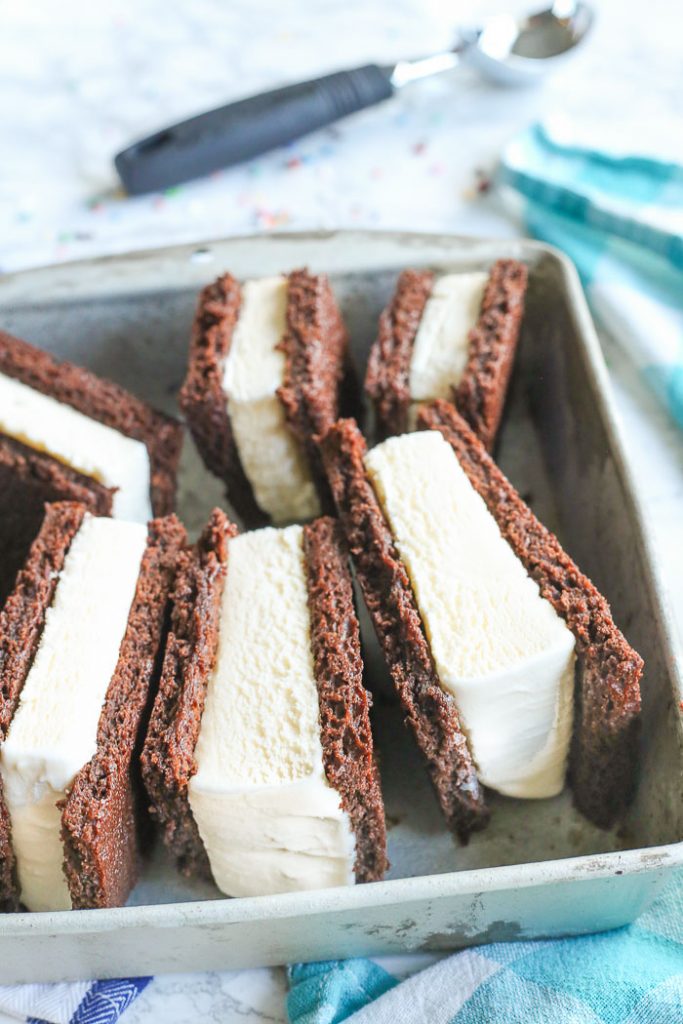
These are the BEST tasting gluten-free ice cream sandwiches on the planet.
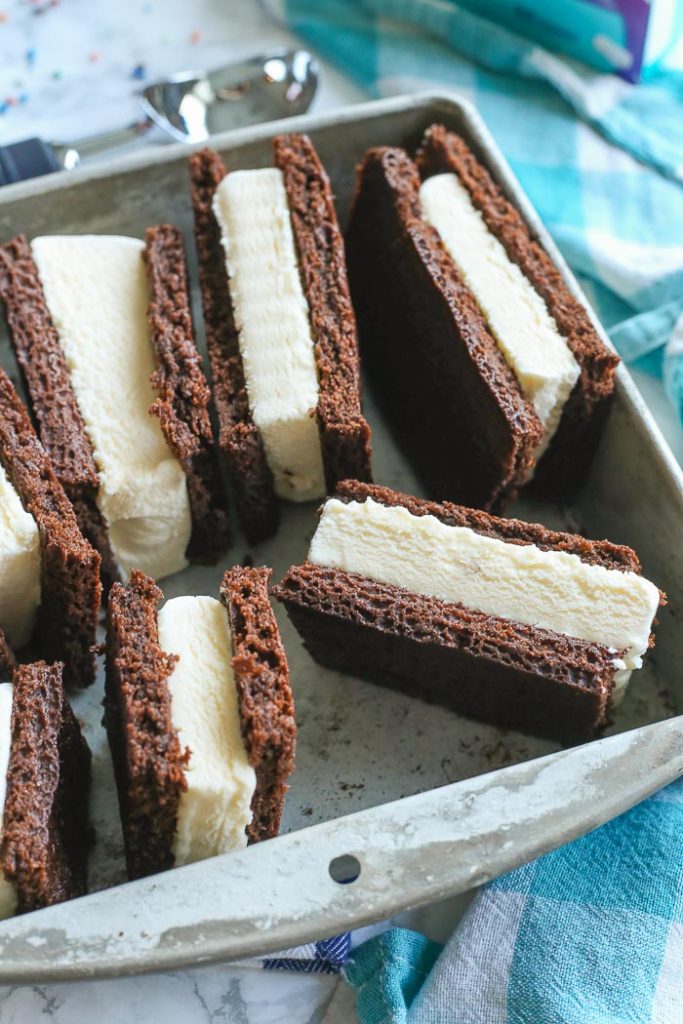
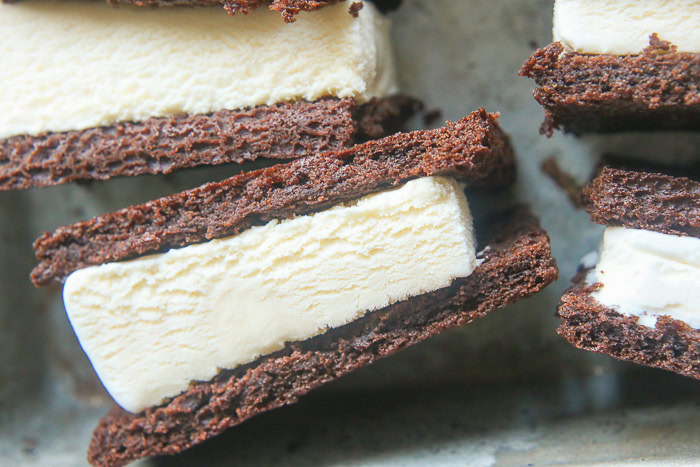
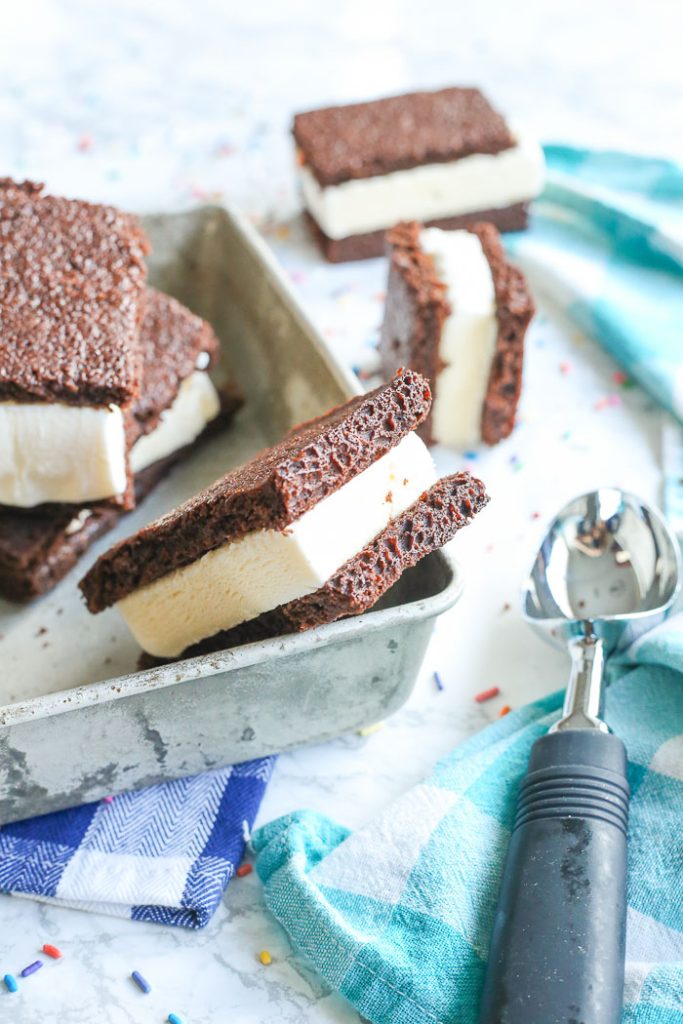
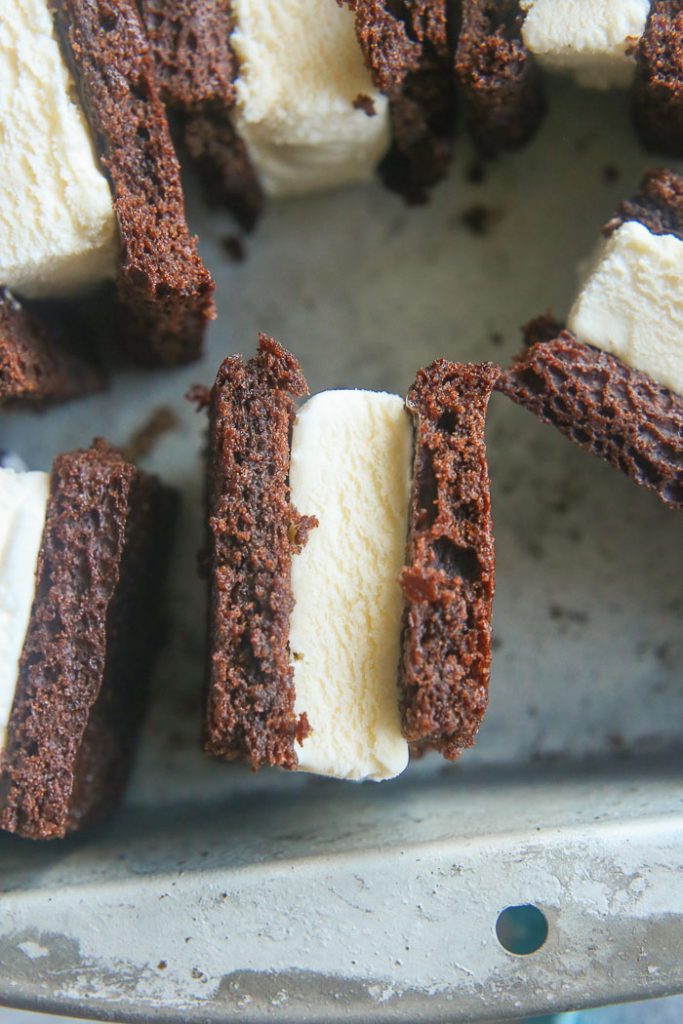
Sweet, soft vanilla ice cream is partnered in between two cut pieces of moist chocolate cookie - that's 100% gluten-free - but still maintains the same consistency of spongy chocolate cookie - just like the ice cream sandwiches do coming off of the ice cream truck!
Oh, I remember the Summer days of eating an ice cream sandwich from the ice cream man - tearing off the paper wrapper, devouring the sandwich, and licking my fingers from the doughy chocolate cookie that melted onto my fingertips.
Well - you know what??? This ice cream sandwich recipe got the chocolate cookie part down right!!! Even the little remnants of melted cookie on your finger tips!
Even my non-gluten-free family members BEG for these sweet treats constantly.
On top of the deliciousness that each one of these sammies packs in each bite, but this recipe is simple - mix together the dry ingredients, then the wet ingredients, then bake and cut!
Even more amazing is that this recipe only requires 10 ingredients and you can create your own custom twist with different variations and alternatives!
Ingredient List:
- sugar
- Gluten-Free Baking Mix
- baking cocoa powder
- salt
- milk of choice
- canola oil
- 1 egg, beaten
- vanilla extract
- boiling water
- 1 carton of creamy vanilla ice cream in a square-shaped carton (gluten-free)
Want to make your own more affordable and in my opinion, better tasting gluten-free baking mix?
Look into my quick and easy recipe for Gluten-Free Baking Mix!
If you need to substitute the canola oil here, you can also use vegetable oil or corn oil.
I HIGHLY recommend buying a creamy carton or box of vanilla ice cream.
It will not only make cutting into slices and squares that much easier, but getting it out of the carton is a breeze!
For "milk of choice" - use whatever you have on hand.
I love to use whole milk or even cream to make this recipe even more decadent!
What's with the Boiling Water?
The boiling water, yes, needs to be boiling and not just hot.
So therefore, please be careful with the hot water and also the hot oven. Please please!
The boiling water help to activate the cocoa powder.
You'll notice when you are starting to slowly add the boiling water to your batter that at first it is very running and watery when you are stirring.
After a minute or two - guess what???
It becomes a uniform batter for one, and secondly, it thickens a bit - you guessed right, by activating that cocoa powder!
Variations to this Recipe:
I've placed a juicy raspberry ice cream in between the layers of deep chocolate cookies for the most decadent ice cream treat!
I really want to try this ice cream sandwich recipe out with mint ice cream - because chocolate and mint are the best!
Oh, and of course a delicious strawberry ice cream in between chocolate cookie crackers can't be bad either.
Many times I will roll my freshly made ice cream sammies in fun sprinkles for occasions or holidays or wrap them in printed parchment papers for a fun twist to any dessert!
Can You Use Dairy-Free Ingredients?
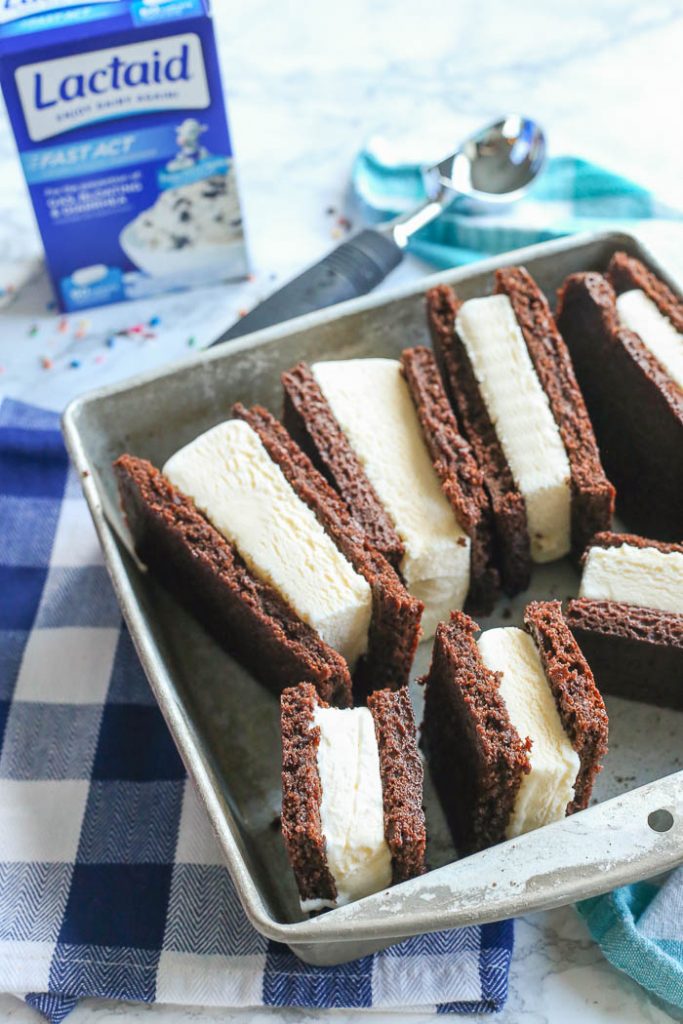
You can - but these ice cream sandwiches just aren't the same without the milk in the chocolate cookie layers and the ice cream isn't so incredibly soft and creamy if it isn't true ice cream.
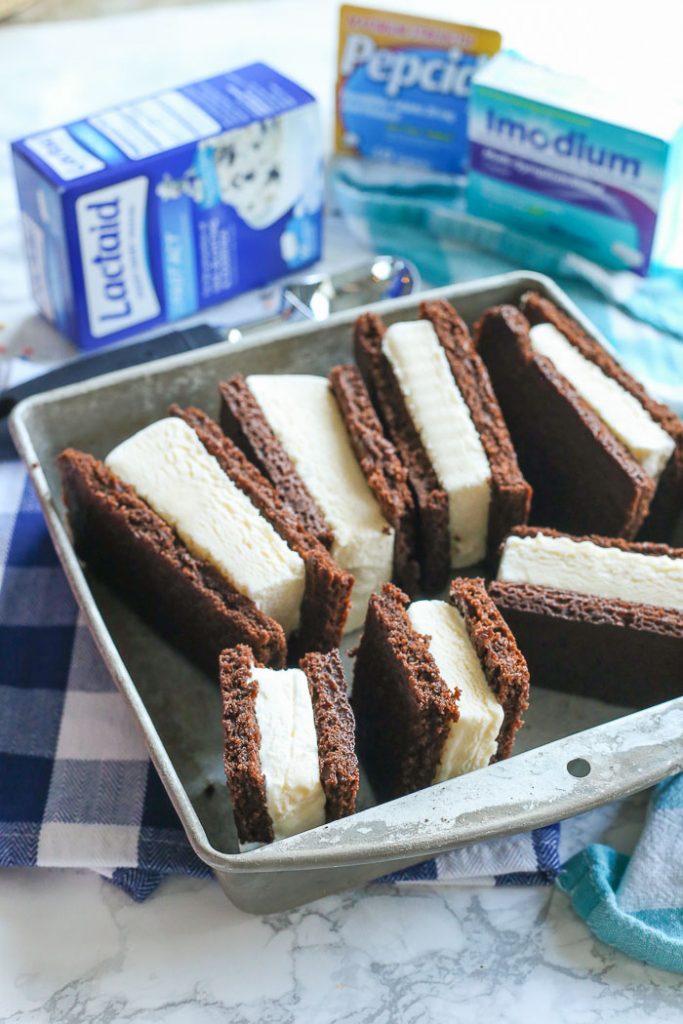
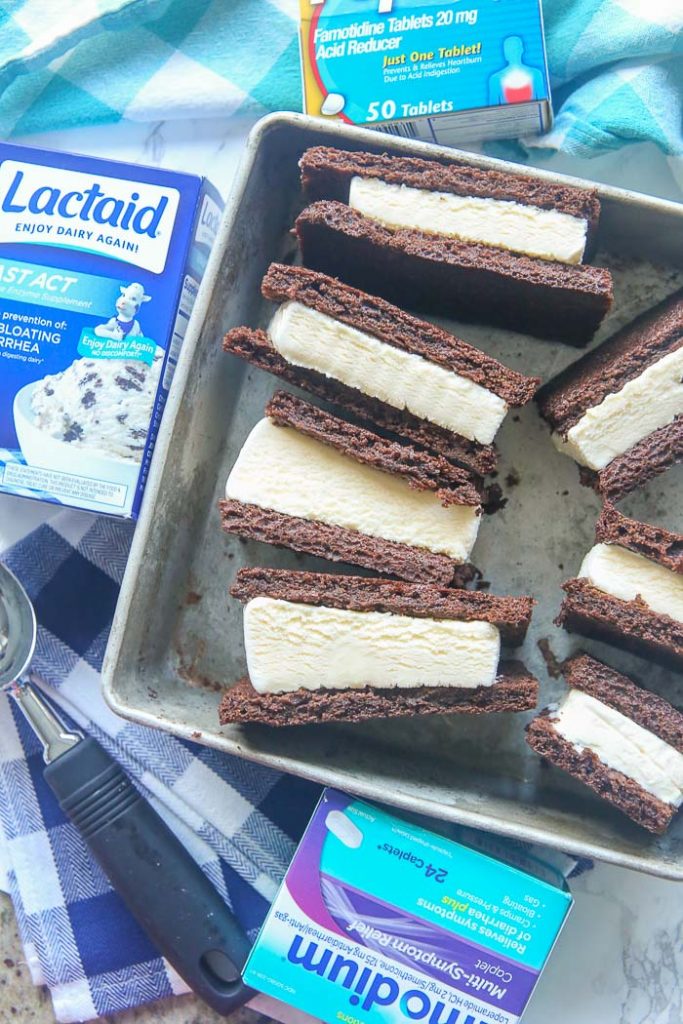
So what I would suggest instead would be to do what I do - I grab my LACTAID®!
Dairy Intolerance:
Do you suffer from a milk or dairy intolerance like me?
My saving grace to get me through the Summer and even through the holiday season with all the ice cream desserts and rich, creamy plates of food is LACTAID®.
In fact, I have been a LACTAID® user since I was 15 years old - when I first learned about my dairy issues.
With all of my food allergies and intolerances, it's nice to know that I can trust a product so that I can enjoy foods that I otherwise would not be able to devour.
Dairy is the one thing I don't need to worry about thanks to this one easy-to-use product I take before I eat dairy foods. I also have a few little other secret helpers when it comes to upset digestive systems, like IMODIUM® and PEPCID AC®.
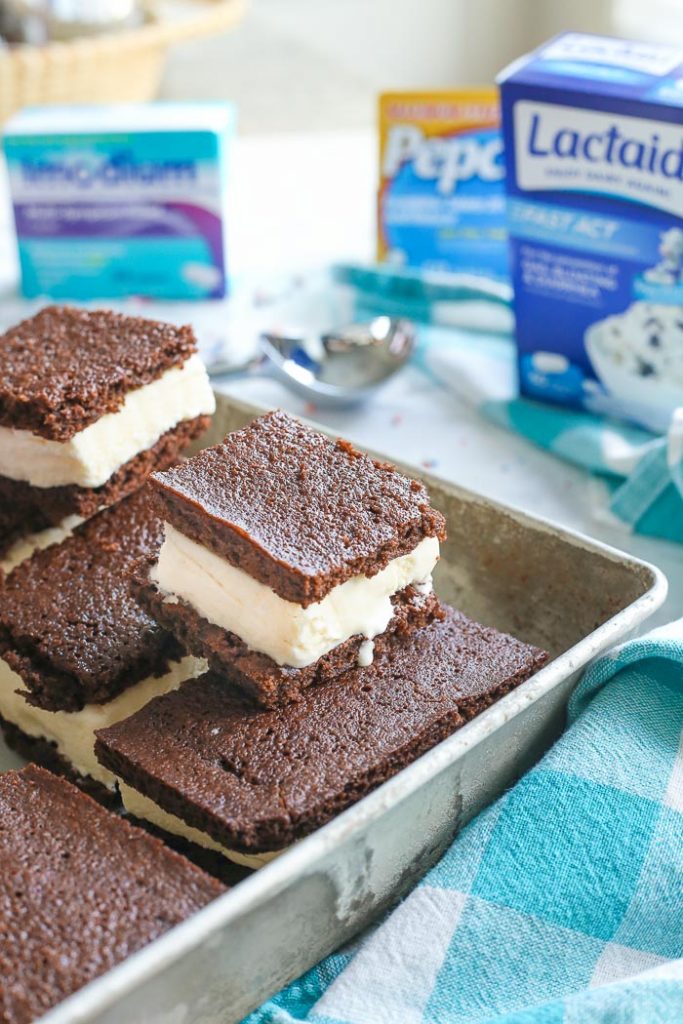
Why LACTAID®?
Great question - so why did I chose and why do I still use LACTAID® over other brands and options?
- Prevents discomfort from sensitivity due to lactose*
- #1 pharmacist recommended brand of lactose intolerance products
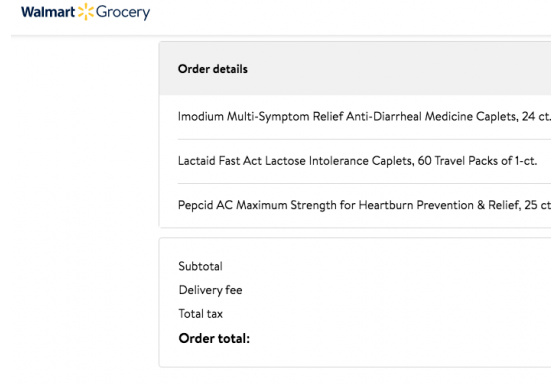
- You can order it directly from Walmart.com like I did, and not even have to leave your house!
- For the prevention of gas, bloating, and diarrhea associated with digesting dairy*
And you can buy all of these products on Walmart.com for pick-up or delivery to your home. Click on the image below to add these three products directly to your Walmart.com cart.
Recipe Instructions:
- Preheat your oven to 350*F and spray a 9 x 13 baking sheet or dish that has sides, generously with cooking spray. Set aside. Heat water to a boil.
- In a large mixing bowl, stir all of the dry ingredients together. After mixing the dry ingredients, add the milk, oil, egg, and vanilla extract to the large bowl and stir until well combined. Carefully and slowly add the boiling water to the mixture, stirring continuously until it is well combined, about 1-2 minutes (will be slightly runny).
- Pour the batter into the bottom of your four-sided baking pan and place in the oven to bake for 26-29 minutes. Remove the chocolate cookie layer from the oven once the sides have darkened, firmed, and are no longer touching the sides of the pan. (The outer edges will be more done and the center - center can be spongy and slightly sticky to the touch).
- Remove from oven and allow to cool in the pan for 5-10 minutes before moving the cookie sheet over on to a cooling rack to cool fully. Once fully cooled, use a knife to cut the cookie layers into squares, rectangles, or another shape of your choice.
- Once the cookie layer has fully cooled, take out the ice cream carton and open it up. Use a knife to go around the sides of the carton to help loosen the ice cream from it's container. Flip the carton upside down on a cutting board and allow the ice cream brick to fall gently from the carton onto the cutting board.
- Using a large knife, cut the ice cream into 1 ½-inch thick slices. Then cut these slices into even smaller pieces that will fit snuggly between two cut pieces of the chocolate cookie layer. Place the ice cream between the two cookie pieces and place these newly-formed sandwiches pack into the freezer to re-harden until ready to be enjoyed!
Storing Leftover Ice Cream Sandwiches:
Any gluten-free ice cream sandwiches that are not being eaten should be kept and stored in the freezer.
I place mine in food-safe, freezer-safe, plastic storage bags and place in a safe place in the freezer where they won't get smooshed.
I place them in one single layer so that the cookie layers don't stack on top of one another, as they have the possibility of sticking to one another if allowed to stack together.
Another option is to wrap each ice cream sandwich in parchment paper - just like the ice cream sandwiches you buy at the grocery store.
This way, you don't need to worry about stacking or not stacking the sandwiches to fit in smaller or harder to reach places in your freezer.
If you make my Gluten-Free Ice Cream Sandwich recipe, let me know in the comments! Enjoy enjoy enjoy!
Also- be sure to follow me on Instagram and hashtag #BlessHerHeartYall or tag @BlessHerHeartYall – I love seeing and hearing the delicious things you make!
If you love this Gluten-Free Ice Cream Sandwiches recipe, be sure to follow me on social media so you never miss a mouth-watering post:
| FACEBOOK | TWITTER | PINTEREST | INSTAGRAM |

*This statement has not been evaluated by the Food and Drug Administration. This product is not intended to diagnose, treat, cure or prevent any disease.
Gluten-Free Ice Cream Sandwiches
These Gluten-Free Ice Cream Sandwiches combine simple, homemade, gluten-free, soft and doughy, chocolate cookie layers with creamy vanilla ice cream in the middle. It's the perfect sweet treat all Summer long!
Ingredients
- ¾ cup sugar
- ½ cup Gluten-Free Biscuit Mix
- ⅓ cup baking cocoa powder
- ¼ teaspoon salt
- ⅓ cup milk of choice
- ¼ cup canola oil
- 1 egg, beaten
- 1 teaspoon vanilla extract
- ⅓ cup boiling water
- 1 carton of creamy vanilla ice cream in a square-shaped carton (gluten-free)
Instructions
- Preheat your oven to 350*F and spray a 9 x 13 baking sheet or dish that has sides, generously with cooking spray. Set aside. Heat water to a boil.
- In a large mixing bowl, stir all of the dry ingredients together. After mixing the dry ingredients, add the milk, oil, egg, and vanilla extract to the large bowl and stir until well combined. Carefully and slowly add the boiling water to the mixture, stirring continuously until it is well combined, about 1-2 minutes (will be slightly runny).
- Pour the batter into the bottom of your four-sided baking pan and place in the oven to bake for 26-29 minutes. Remove the chocolate cookie layer from the oven once the sides have darkened, firmed, and are no longer touching the sides of the pan. (The outer edges will be more done and the center - center can be spongy and slightly sticky to the touch.
- Remove from oven and allow to cool in the pan for 5-10 minutes before moving the cookie sheet over on to a cooling rack to cool fully. Once fully cooled, use a knife to cut the cookie layers into squares, rectangles, or another shape of your choice.
- Once the cookie layer has fully cooled, take out the ice cream carton and open it up. Use a knife to go around the sides of the carton to help loosen the ice cream from it's container. Flip the carton upside down on a cutting board and allow the ice cream brick to fall gently from the carton onto the cutting board. Using a large knife, cut the ice cream into 1 ½-inch thick slices. Then cut these slices into even smaller pieces that will fit snuggly between two cut pieces of the chocolate cookie layer. Place the ice cream between the two cookie pieces and place these newly-formed sandwiches pack into the freezer to re-harden until ready to be enjoyed!
Thank you for sharing. Will definitely try. Looks so delicious and I am sure it will taste delicious too.
Isn't it grat that we live in a time and age where you can tackle food intolerances so easily and you can virtually not miss a single food opportunity? I love the idea that a pill can help lactose intolerance and gluten free baking can yield such great results!